Ready to dive into “DIY for Beginners” the world of crafting without breaking a sweat? Perfect! This guide is your one-stop-shop for easy-peasy DIY projects tailored just for you, the beginner extraordinaire. What is included in the DIY for the beginners? From jazzing up your space to creating personalized gifts, we’ve got your creative journey covered.
Jump To Section
Choosing Your DIY Adventure
1. Home Decor Delights
Symmetric Wall Art with Washi Tape Got a blank wall staring back at you? Let’s fix that with some funky Washi Tape art! Grab your favorite colors, stick ’em on, and watch your space transform. It’s like magic, but cooler.
Personalized Throw Pillows Plain throw pillows? Not on our watch! Dive into the world of fabric markers, stencils, and let your creativity run wild. Express yourself with vibrant designs or sprinkle some heartfelt quotes – the choice is yours.
2. Fashion and Style
Tie-Dye T-Shirts for a Splash of Color Guess who’s making a comeback? That’s right, Tie-Dye! Grab a plain white tee, pick your fave colors, and let’s get artsy. No two shirts will ever look the same – it’s a guarantee!
Beaded Bracelets for a Touch of Elegance Jewelry-making made easy! Experiment with different bead colors and patterns, and voila – stylish accessories that scream “you.”
3. Practical Creations
DIY Customized Key Holder Tired of fumbling for your keys? Let’s organize that chaos with a touch of personalization. A wooden plank, some hooks, a splash of paint – and there you have it, a key holder that’s both functional and fab.
Mason Jar Organizer for a Clutter-Free Space Empty mason jars to the rescue! Transform them into a nifty organizer for all your bits and bobs. It’s like tidying up with a touch of rustic charm.
DIY for Beginners
Now, let’s break down the steps for two awesome projects: Symmetric Wall Art with Washi Tape and Tie-Dye T-Shirts.
1. Symmetric Wall Art with Washi Tape
Materials:
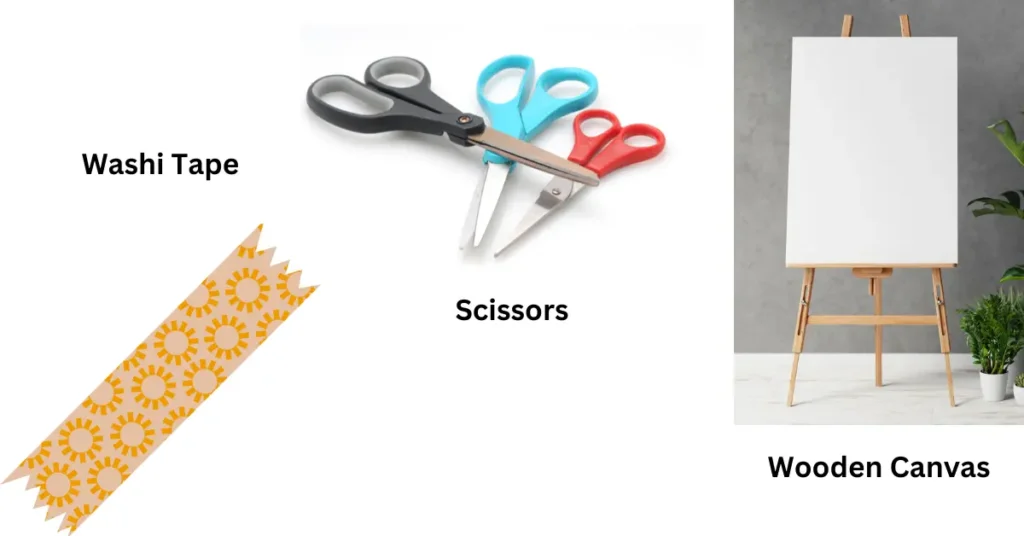
- Washi tape in assorted colors and patterns
- Wooden canvases or frames
- Scissors
Steps:
- Prepare Your Canvas:
- Clean it up if it’s wooden, or clear any existing stuff from frames.
- Choose Your Washi Tape:
- Go wild with colors and patterns.
- Create Symmetrical Designs:
- Start from the center and work your way out with different Washi tape.
- Experiment with Shapes:
- Make geometric shapes – triangles, squares, diamonds!
- Fill in the Spaces:
- Complete the design with more Washi tape.
- Secure the Tape:
- Press it down firmly, smoothing out any air bubbles.
- Trim Excess Tape:
- Neatness matters – trim off the extras.
- Hang or Display:
- Let it dry completely before showing it off!
2. Tie-Dye T-Shirts
Materials:
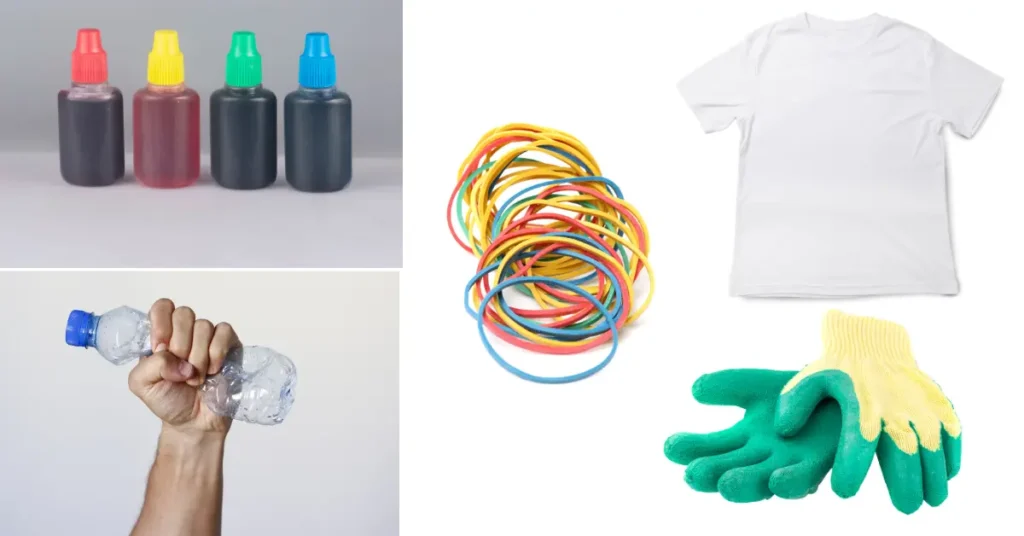
- Plain white T-shirts
- Fabric dye in assorted colors
- Rubber bands
- Plastic squeeze bottles
- Plastic gloves
Steps:
- Prepare Your Work Area:
- Protect your space – throw on a tablecloth or some garbage bags.
- Dampen the T-Shirt:
- Wet it a bit for better dye absorption.
- Create Tie-Dye Patterns:
- Grab sections, tie ’em up with rubber bands – get creative!
- Mix the Fabric Dye:
- Follow the fabric dye instructions for a color party.
- Apply the Dye:
- Squeeze those bottles and make your masterpiece.
- Wrap in Plastic:
- Keep it moist, let it soak in all the color goodness.
- Rinse and Wash:
- Rinse until it runs clear, then wash it solo in cold water.
- Enjoy Your Tie-Dye Creation:
- Once dry, flaunt that artsy tee with pride!
Conclusion
Starting on this DIY adventure is about more than just crafting; it’s about enjoying the process. Mistakes? Embrace them! Each project is a chance to learn and grow. So, armed with your newfound knowledge and a toolkit of essentials, go ahead – unleash DIY for beginners for your creativity. Whether it’s for relaxation, self-expression, or gifting, remember: the joy of DIY is in the journey. Happy crafting, folks!