
Are you ready to take your DIY skills to the next level? Well, buckle up because we’re diving into the exciting realm of intermediate level DIY projects. This is where the magic happens – where challenge meets accomplishment and your creativity gets a chance to shine. Whether you’re a seasoned DIY enthusiast or just starting to dip your toes into the DIY pool, these projects are designed to push your boundaries and unlock your creative potential.
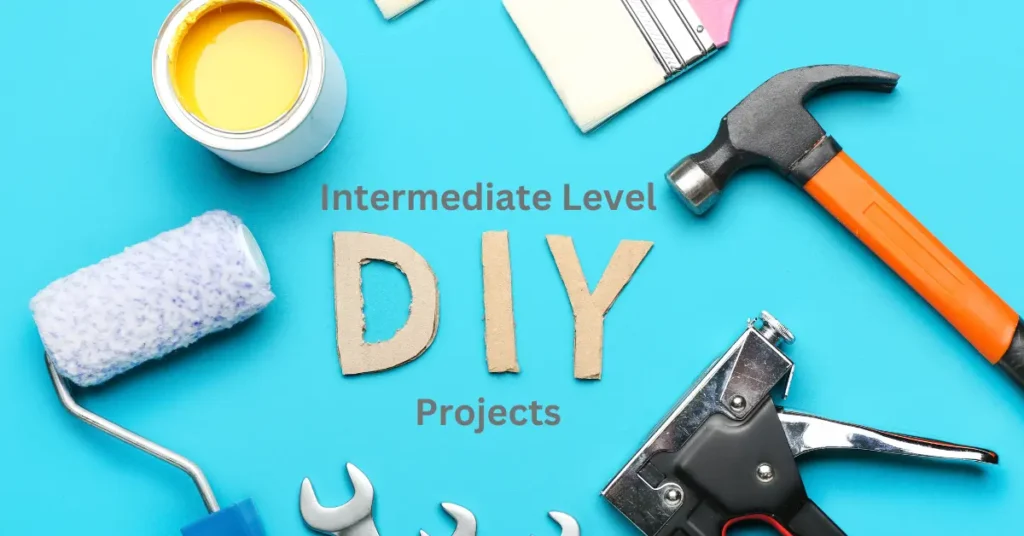
Understanding Intermediate Level DIY Projects
Before we jump into the nitty-gritty of specific projects, let’s chat about what makes a DIY project “intermediate.” Think of it as the Goldilocks zone – not too easy, not too hard, just right. You should feel comfortable wielding an array of tools and have a good grasp of the basics like measuring, cutting, and assembly. It’s like leveling up in the DIY game.
1. Bold Entryway Mirror with Shelf
Ever walked into someone’s home and thought, “Wow, that entryway mirror is a game-changer!” Well, get ready to be the one who elicits those reactions. Our first project is all about creating a bold entryway mirror with a built-in shelf. Picture this: a chic mirror that not only reflects your fabulous self but also offers a spot for keys, sunglasses, or a decorative succulent. We’re talking functional AND stylish.
Materials Needed:
- Large mirror
- Wood for the frame
- Wood glue and screws
- Paint or stain
- Shelf brackets
Step-by-Step Guide:
- Measure and cut the wood for the frame. Think about proportions – we want it to frame that mirror beautifully.
- Assemble the frame using wood glue and screws. Imagine you’re building the perfect frame for a masterpiece – because you are!
- Paint or stain the frame to match your aesthetic. This is where you let your style shine.
- Attach the mirror securely within the frame. Safety first – we want that mirror to stay put.
- Install shelf brackets and add a complementary shelf below the mirror. Voila! You’ve just created an entryway statement piece.
2. Upcycled Vintage Dresser
Okay, let’s talk about transforming the old into something stunning. Have you ever seen a vintage dresser and thought, “I wish I could give that a makeover”? Well, you can, and it’s an intermediate-level project that involves upcycling. We’re talking sanding, painting, and bringing new life to an old classic.
Materials Needed:
- Vintage dresser
- Sandpaper and wood filler
- Primer and paint
- Paintbrushes or spray paint
- Optional: Distressing tools (because a little distress adds character)
Step-by-Step Guide:
- Sand the dresser – it’s like giving it a spa day to remove old finishes and smooth out imperfections.
- Fill in any cracks or holes with wood filler. Think of it as giving your dresser a skincare routine.
- Apply primer to get that canvas ready for your artistic touch.
- Experiment with paint techniques. Ombre, distressing, stenciling – let your creativity run wild.
- Let the paint dry completely before sealing the deal with a clear coat. You’ve just given that dresser a new lease on life.
3. DIY Floating Bookshelf Wall
Who doesn’t love a good bookshelf? But what if we take it up a notch and make it float? That’s right, we’re diving into the world of DIY floating bookshelves. This intermediate-level project is not just about storage; it’s about creating a visually stunning display for your favorite reads.
Materials Needed:
- Wood boards
- L-shaped brackets
- Screws and anchors
- Level and measuring tape
- Paint or stain (because why not make it look good too?)
Step-by-Step Guide:
- Measure and cut the wood boards to your desired shelf lengths. It’s like customizing the perfect stage for your books.
- Paint or stain the boards. This is where you get to choose the color that complements your style.
- Attach L-shaped brackets to the wall at the desired shelf height. Make sure they’re level – we want those books to sit pretty.
- Secure the wood boards onto the brackets. It’s like building a floating stage for your bookish friends.
- Arrange and style your shelves with books or decorative items. You’ve just created a bookish masterpiece.
4. Customized Wooden Plant Stand
Now, let’s bring a touch of nature into your DIY journey. Picture this – a customized wooden plant stand showcasing your favorite indoor plant. It’s like creating a VIP spot for your green companion. This intermediate-level project combines woodworking with a splash of greenery.
Materials Needed:
- Wood dowels or boards
- Wood glue and screws
- Wood stain or paint
- Wood saw and sandpaper
- Plant pot and saucer
Step-by-Step Guide:
- Measure and cut the wood dowels or boards to create the frame of the plant stand.
- Assemble the frame using wood glue and screws. We’re building a sturdy platform for your plant to shine.
- Sand the stand to ensure a smooth finish. We want it to be as comfortable as a spa day for your plant.
- Apply wood stain or paint to achieve the desired finish. This is where you get to express your style.
- Place your favorite indoor plant in a decorative pot on the stand. Your plant just got a stylish new home.
5. DIY Wooden Wall Art
Now, let’s get artsy. We’re talking about DIY wooden wall art that’s not just a decoration but a statement piece. This intermediate-level project is your chance to unleash your artistic side. Think of it as creating your gallery wall with a touch of woodworking flair.
Materials Needed:
- Wooden panels or plywood sheets
- Wood stain or paint
- Wood glue and nails
- Saw and sandpaper
- Measuring tape and level
Step-by-Step Guide:
- Plan your geometric design and mark the dimensions on the wooden panels. It’s like sketching your masterpiece.
- Use a saw to cut the panels into the desired shapes. Time to sculpt your wooden canvas.
- Sand the edges to ensure a smooth finish. We want it to be as touchable as it is eye-catching.
- Apply wood stain or paint to enhance the natural beauty of the wood. Choose the colors that resonate with your style.
- Arrange the panels according to your design and secure them together with wood glue and nails. Congratulations, you’ve just curated your wooden art gallery.
6. Handcrafted Wooden Wine Rack
Let’s talk about wine – and not just any wine rack. We’re diving into the world of handcrafted wooden wine racks. This intermediate-level project is not just about storing wine; it’s about making a statement. Think of it as creating a cozy corner for your favorite bottles.
Materials Needed:
- Wood boards
- Wood glue and screws
- Wood stain or paint
- Saw and sandpaper
- Level and measuring tape
Step-by-Step Guide:
- Measure and cut the wood boards to create the wine rack components. It’s like customizing a home for your favorite bottles.
- Sand the boards to ensure a smooth surface. We want it to be as comfortable as a wine cellar for your bottles.
- Assemble the wine rack using wood glue and screws. Stability is key – we don’t want any wobbly bottles.
- Apply wood stain or paint to achieve the desired aesthetic. Choose the color that complements your wine collection.
- Mount the wine rack securely on the wall, keeping it level. Your wine corner just became the highlight of your space.
7. DIY Upholstered Headboard
Let’s shift our focus to the bedroom. Ever thought of upgrading your bed with a touch of DIY elegance? Enter the DIY upholstered headboard. This intermediate-level project brings together woodworking and upholstery to create a cozy haven.
Materials Needed:
- Plywood
- Foam padding
- Fabric of your choice
- Batting
- Adhesive spray
- Wood screws and a saw
Step-by-Step Guide:
- Measure and cut the plywood to your desired headboard size and shape. It’s like customizing your sleep sanctuary.
- Cut the foam padding and batting to match the plywood dimensions. We want it to be as comfortable as it is stylish.
- Spray adhesive on the plywood and attach the foam padding. It’s like giving your bed a plush makeover.
- Lay the batting over the foam and secure it to the back of the plywood with wood screws. Comfort meets style.
- Stretch and staple the fabric over the batting, ensuring a snug fit. Your bed just got a stylish upgrade.
- Attach the upholstered headboard to the bed frame or mount it securely to the wall. Sweet dreams in style.
Conclusion: Elevate Your DIY Skills
So there you have it – a journey through intermediate level DIY projects that not only challenge your skills but also elevate your space. Whether you’re crafting a chic entryway mirror, upcycling a vintage dresser, or creating a cozy corner for your favorite wines, these projects offer the perfect blend of challenge and satisfaction. Embrace the DIY adventure, gather your tools, and let the crafting adventures begin. Happy crafting, my DIY maestro!